


Many credit union websites utilize rotating banners on their homepage to provide a stream of eye-catching graphics and calls-to-action for their members to explore.
When it comes to making these banners, there is no right or wrong way to present your information. However, considering these banners are often the focal point of the credit union’s homepage—the first thing viewers see when navigating to the site—there’s a lot of pressure on them to make a strong impression.
Thankfully, there are some design and marketing strategies you can lean on to help increase your banner’s reach. By drawing on these tips and tricks, credit unions can ensure their banners stand out and draw in viewers.
Know your audience
When making a banner for your website, you need to know who your target audience is. Some key characteristics to identify include age, gender, education, and occupation. For credit union purposes, it may be helpful to identify if you are trying to reach your existing members or if you are focused on reaching potential new members within your community.
With this information, you can begin making implied assumptions about your audience, which may affect the language and visuals you use in your design. For example, if you know your current membership is men and women between the ages of 30-50 years, you can assume they are looking for competitive rates, low fees, and easily accessible financial services. By using imagery of people within the target age range in your design, you can appeal to your members in a subtle manner.
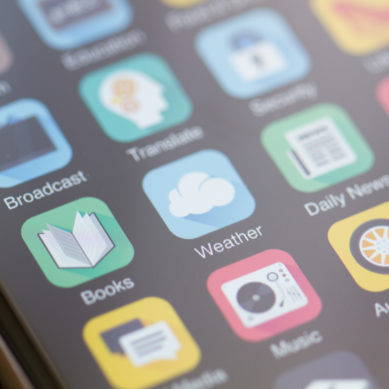
Another characteristic to identify is audience behavior, namely, interaction habits. Start by asking yourself: Does most of your member base utilize your website, or do you get more traffic from mobile users? You will want to optimize the design and layout of information based on where and how the banner is most likely to be viewed.
You may be surprised to learn that viewers will spend very little time reading your banner. According to a 2016 study conducted by InSkin Media, “25% of “viewable” ads (viewable in this case meaning on-screen for 14 seconds or more) are never looked at, while one-third are looked at for one second and 42% are viewed for more than a second—the median being 0.7 seconds.”
One second is truly not a lot of time, 0.7 seconds even less so, so how can you expect your viewers to take anything from your banner?
Plan accordingly
Knowing you have roughly one second of time to work with, you will need to have an idea of what information is most important for your members to see and how it should be laid out on the banner. This is called visual hierarchy.
Whatever text is most important—the rate you are advertising, the call to action you are prompting members to follow—should be most prominent on your banner. There are a variety of ways to bring attention to this through the use of fonts, weights, color, layout, and size. Generally, your title or call to action will be the largest item on the banner, with additional information being much smaller.
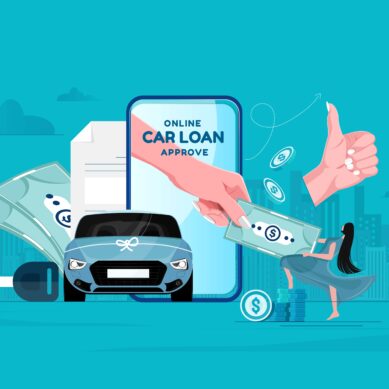
You also need to consider what graphics you will use. Choosing a graphic that matches your brand and fits the needs of the banner can be a challenge, and combining it with your information can make for a struggle. Try to utilize images with clear space for text to sit without obstruction, and don’t be afraid of simple designs—especially when they utilize aspects of your credit union branding (think logomark faded in the background, or using certain colors from your brand to make words pop).
It is also beneficial to your members and your site to ensure the banners on display are accessible. When making the effort to conform to WCAG standards, you will need to consider alt text for screen readers as well as contrast and text size for low visibility and vision impairment, among other factors.
Putting it together
Once you have decided on what information and graphics you plan on using, it is finally time to start putting together your ideas. There are various platforms, both free and subscription-based, that allow for banner creation. A few of the more popular systems include Adobe, Canva, GIMP, and CorelDRAW. Each of these systems has the capabilities required to make and export your banner.
There is also the option of outsourcing this job to a third-party. If choosing to outsource the job, it is important to provide your information hierarchy and chosen graphics to your partner. It is also helpful to supply information on your goal for the banner and your intended audience. Every company will have different requirements, but they will typically need the text content and a general project direction.
Once you have your finished banner uploaded, you will also want to consider the position in the rotating queue. It is generally recommended to have 5 rotating banners active in the queue at one time, while other sources say you can have up to 8. Anything more would be considered excessive, especially when you know a majority will not be clicked on or even seen. Keeping your most important and current banners in the queue will increase the odds that they are seen and your call to action is acted on.
There is no wrong way to make a banner
You may still find you would prefer to throw a picture from google images into Microsoft paint, add some quick text, and call it good. You may think utilizing a third-party specializing in design is the best route to take.
Regardless of how you choose to proceed, it’s critical to remember you’ll only have a second for your banner to make an impact on its reader, so you’ll want to make the most out of that second. Ultimately, your banner will find more success if you take the time to establish your audience, plan your content accordingly, and put your plan into action.